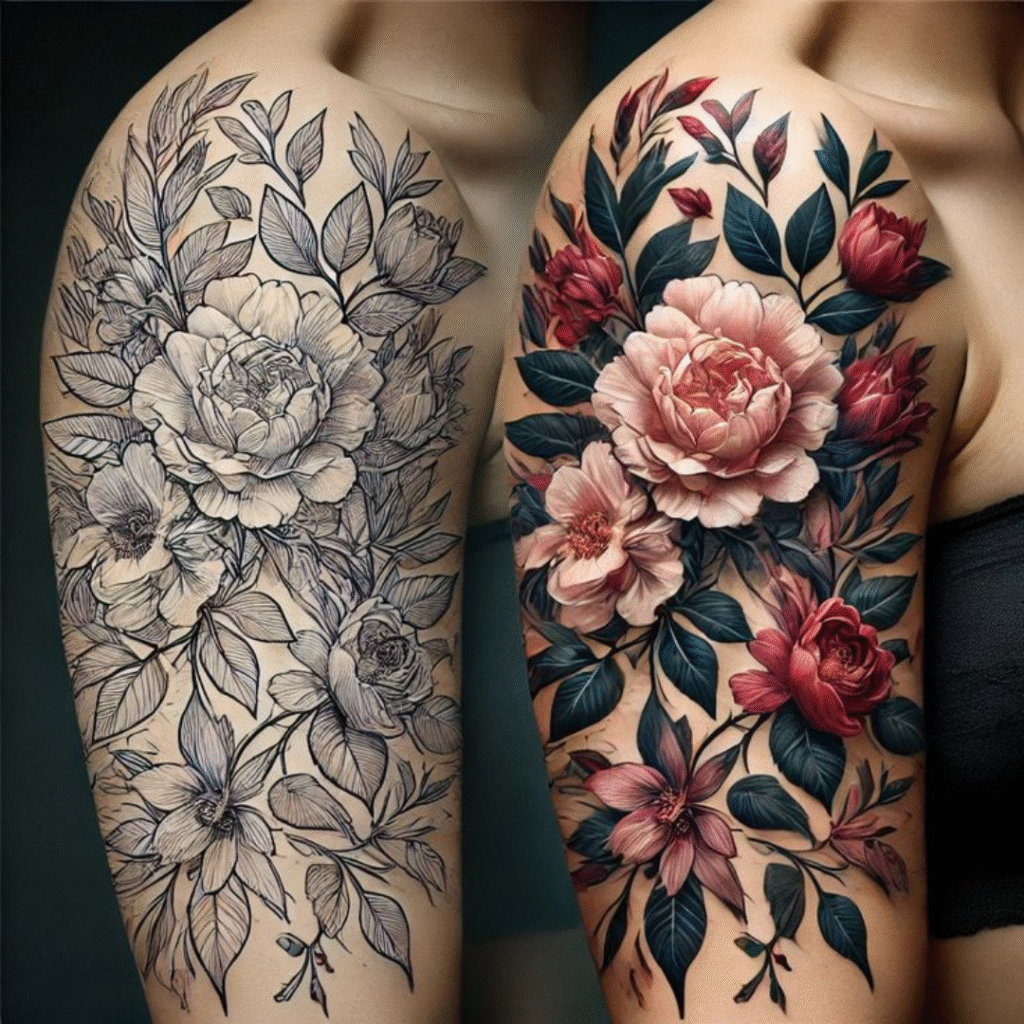
Black and grey vs color tattoos is one of the most common choices artists hear from first-time clients. Both options look amazing, but the right choice depends on longevity, contrast on your skin, your style, and how many sessions you’re willing to sit.
Pick for your future self, not just Instagram lighting. Tattoos live in sunlight, sweat, and time. Contrast and placement predict readability more than fleeting trends.
Black and Grey Tattoos vs Color: Longevity & Maintenance
- Black & Grey: High contrast = stronger readability over time. Usually fewer touch-ups.
- Color: Pops hard on day one; may need future refreshes—especially in high-sun areas.
- Reality check: Sunscreen + aftercare > any blanket rule. Healed photos tell the truth.
Good first placements: outer forearm, upper arm, calf.
High-fade zones: fingers, hand sides, feet, and inner wrist creases.
Skin Tone & Contrast in Black and Grey Tattoos
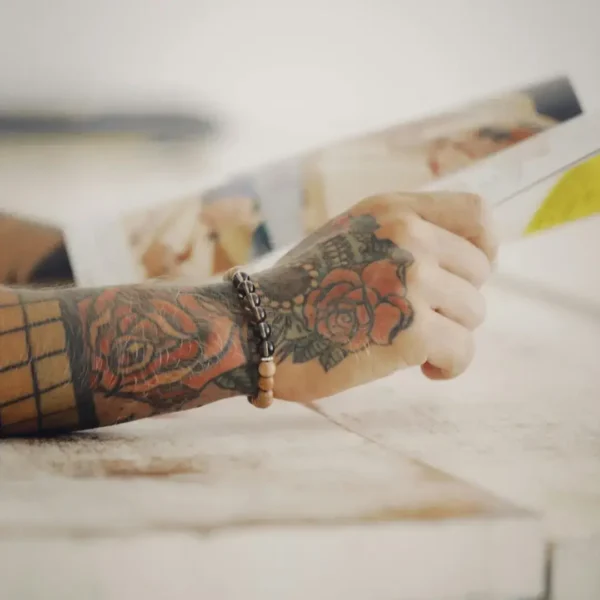
- Light–medium skin tones: B&G is crisp; color palettes (jewel tones, saturated reds/blues) pop.
- Olive–deep skin tones: B&G shines; bold color blocks (teal, golds, magenta) can work—avoid ultra-pastel micro areas.
- Universal tip: Ask for a quick contrast test: marker outline + a swatch card photo in daylight.
Style Fit: When Black and Grey Tattoos Work Best
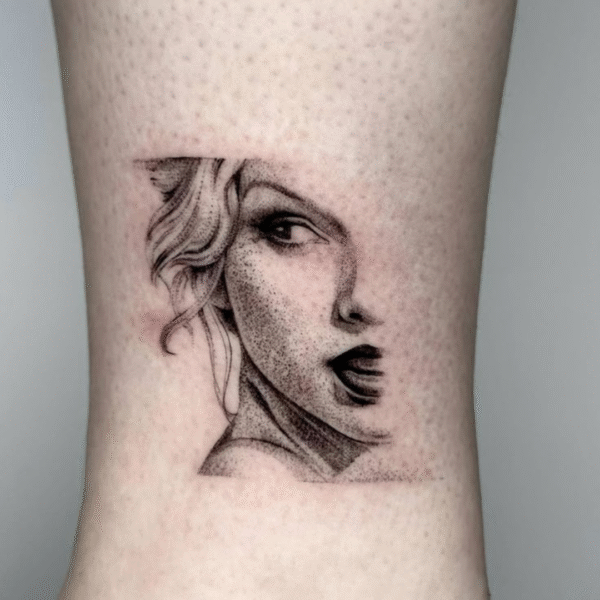
- Realism, portraits, fine line florals: Both work. B&G = moody/classic; Color = lifelike/glossy.
- Traditional / Neo-Trad / Anime: Color sings—bold, readable shapes.
- Geometric / Ornamental: B&G wins for timelessness and clarity.
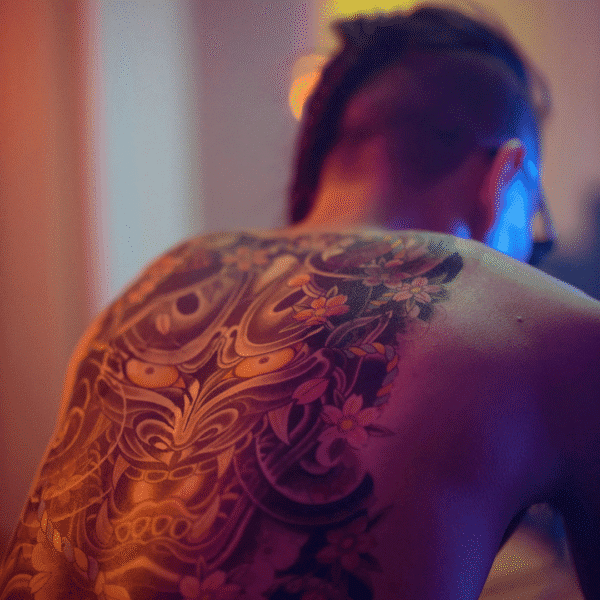
- Japanese motifs: Both valid—color for florals/mythic creatures; B&G for masks/animals if you prefer timeless contrast.
Budget & Sessions (Let’s be practical)
- B&G: Often fewer sessions for the same coverage; faster to a finished look.
- Color: Extra time for palette building, saturation, and blends.
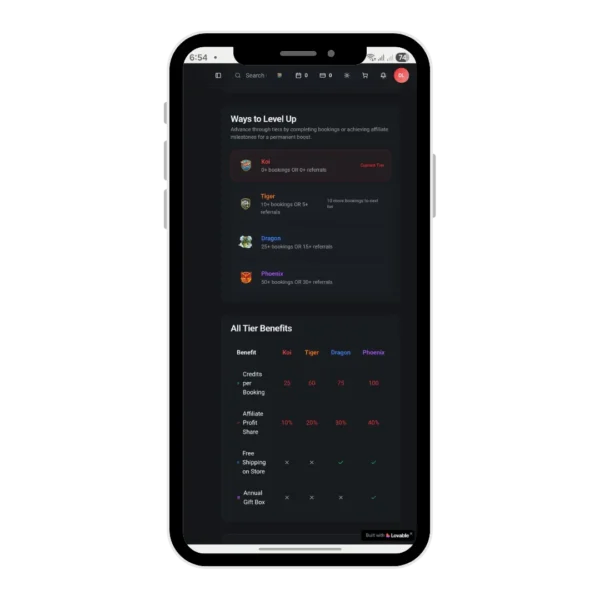
- Plan smart: Book in blocks. Multi-session work benefits from automatic reminders (no more “oops, I forgot”).
Decision Mini-Flow (Screenshot this)
- Do you want max longevity with minimal upkeep? → Start with B&G.
- Do you love loud palettes and classic flash vibes? → Go Color.
- Unsure? → Pick B&G linework now; add selective color later.
- Work outdoors / heavy sun? → Lean B&G, high-contrast placements.
- Photographs from across the room matter? → B&G reads stronger.
Prep Checklist (2 minutes)
- Bring 3–5 refs: one for subject, one for style, one for palette (or B&G).
- Daylight selfie of the placement area.
- Decide “one big story” vs “several small stickers.”
- Be honest about budget + timeframe (half-sleeves are rarely one-and-done).
FAQ
Related Posts
Tattoo Booking by Text: Why Clients Prefer It in 2025
Tattoo booking by text is replacing DMs as the go-to way for clients to book tattoos in 2025. Discover why…